
I confess, I must be the laziest dyer around. If there is a shortcut to do anything, I MUST find it. There are thousands of books on dyeing available so why am I showing you my process?
Because it is easier and that is REASON ENOUGH. Here's how I do it.
#1 Wear rubber gloves. Using regular household utensils measure a tablespoon of dye powder into a measuring cup.
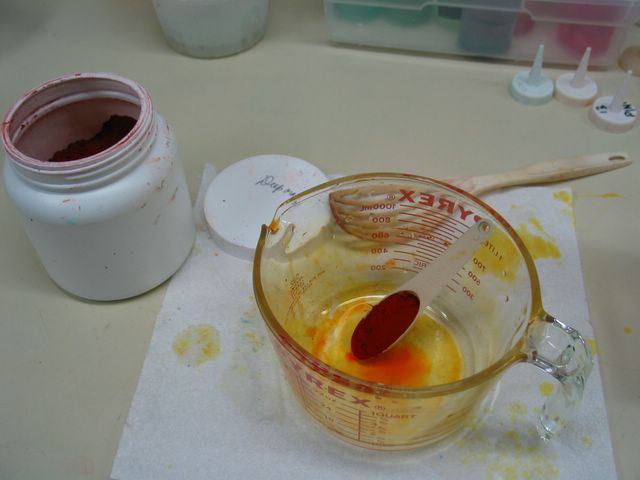
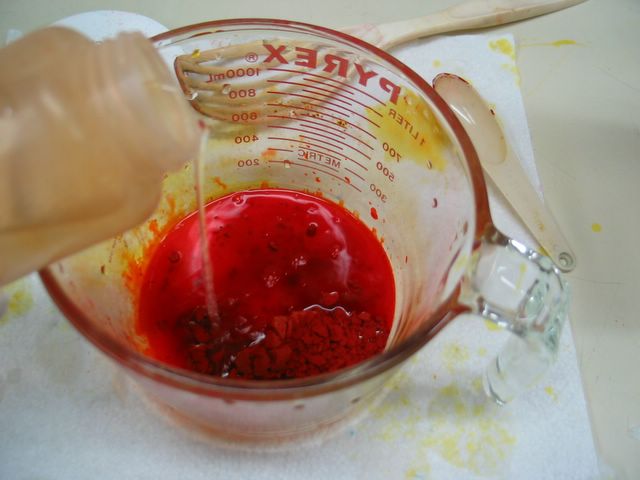

I am mixing this dye powder with about two cups of water per tablespoon. This holds true for all the colors I use with the exception of fuchsia which is so intense that I am only using ONE TEASPOON per 16oz of water.
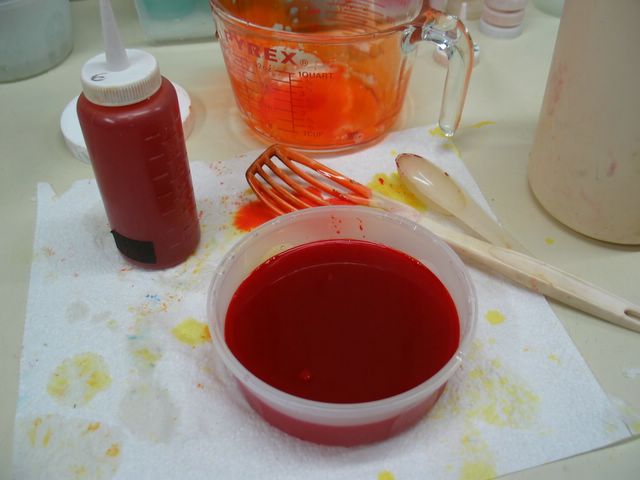
Store mixed dye solution in plastic squirt bottles, or small plastic storage containers. It lasts less than a week at room temperatures, so either mix small amounts or use it up quickly.
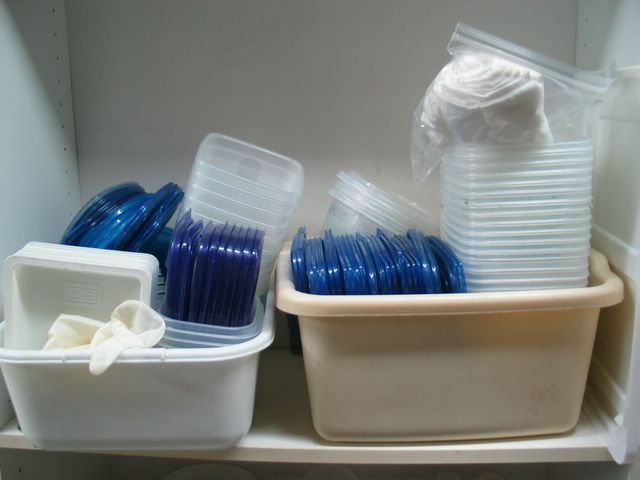
I like to use squirt bottles which hold a cup or 8oz of liquid. I also like the 'disposable' plastic containers like Gladware or some such generic brand. I buy them in various sizes and they store so neatly in my dishpans. The dishpans are very useful for mixing dye into fabric to get a solid color.
I pre-soak all my fabric in a large Rubbermaid container filled with soda ash or sodium carbonate (same thing) and plain water.
Soda Soaking Solution
How much water to soda ash you ask?
The fabric is soaked just long enough to get thoroughly wet and then I put it in my washer SET ON SPIN CYCLE and run it long enough to get rid of most of the wetness. Then it is ready to dye. (of course you are only using PREPARED FOR DYEING fabrics). If your washer doesn't do this, just wring out the fabrics so they are not sopping wet.
THE DYES
Yellows #1, #2, #3+#4 ( I mix those last two half and half)
Deep Orange #6
Fire Red #10
Fuchsia #13
Turquoise #25 and Cerulean Blue #23
All of those are from Dharma Trading Company.
I also order my acid dyes for yarn from Dharma.
I use only procion dyes on my silk and don't change a thing in my formulaes when I dye the silk. I treat it exactly the same as cotton, all the way through the process and into the fusing. NOTHING IS DIFFERENT FOR THE SILK. Really.
THE FABRICS
400 M Bleached Desized Mercerized Cotton Print Cloth (78 x 76) from Testfabrics. I have used this fabric for decades. Always works great. Expensive but worth it.
Other fabrics that I have used that work fine:
Nature's Way unbleached muslin from Roc-lon
Pimatex pfd from Kaufmann
Kona pfd from Kaufman
Mercerized Print cloth from Dharma, and all their fabrics, silks, hemp, muslins etc. are all pfd.
While I love the look of sateen, it is a twill weave and therefore when used raw edge, the threads stick up quickly at the edge and that does not make me happy. So instead I use a plain weave silk. It turns out the silk is less expensive anyway, so there.
I get my soda ash from the swimming pool supply place and pre-soak all my fabrics first.
ACHIEVING SOLID COLORS
Using a dishpan, pour in a cup of dye solution. Add fabric (wear your rubber gloves!!) and squeeze the dye into the fabric, wring it out and repeat until you are certain that all the dye is evenly distributed.
How much fabric will one cup of solution dye? Start with one damp yard, PRE-SOAKED IN SODA ASH SOLUTION. If you want to do a smaller amount use less dye solution. There will be leftover dye anyway but most of it will be absorbed into the fabric...depending on how wet it was originally.
Now what? Put the dyed fabric into one of the plastic containers and top it with the lid and set it aside.
Onto the next color.
If you have leftover dye solution in the dishpan, you can just throw it in with the fabric you just dyed, or use it for the next piece, adding more dye solution or plain water, for a very much lighter value. When I am dyeing solids, I just continue this dishpan routine until all the fabric is in the plastic containers and stacked up all over the place.
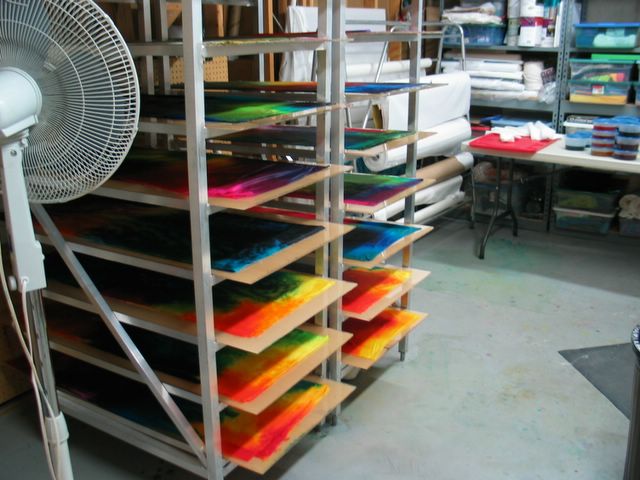
The next day I will wash it all out. If you live someplace warm, the fabric containers can be set out in the sun to 'bake' and then you can do the washout in about four hours.
THE WASHOUT
I try to keep like colors together in the washer, so I would do a load of yellows-oranges, and then another of red-fuchsias etc. Of course I am doing 12 yards per washer load, and you may be doing something a lot less.
I hate to rinse these pieces, since it is hard to lean over the sink and did I mention that I AM LAZY? If you feel you MUST rinse, before putting the pieces in the washer, then use hottest water to do the rinsing. You will soon tire of that business after you've gotten past your first thousand yards, and will just throw it all into the washer at once as I do.
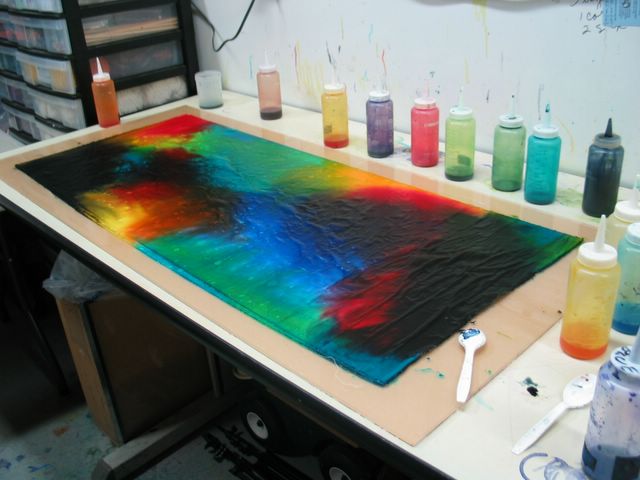
If you wish to do fancy stuff, go outside (temp must be above 70 degrees Fahrenheit) and
use a plastic table and some plastic sheets and lay out your fabric in the hot sun and pour or drip the dye onto the fabric and have fun making a mess. The sun will dry the fabric in no time and then you are ready to wash it out and use it.
"Surrender to the dye."
Whatever it wants to do is the thing you must accept.
My utmost concern was the hardness of water from the workshop site sinks, which I am happy to say passed with flying colors. Then I had concerns about what fabrics we would be using in the workshop (in May), so I ran four tests on each of the four fabrics. I've recorded the results below. Warning, this is really dull reading.


Using 1/4 cup soda ash and one gallon of water as a pre-soak, and two teaspoons of Deep Orange #6 in 8 oz. of water, I dyed these four fat quarters,, I dyed these four fat quarters, using the crackle or scrunchy technique. This means each piece of fabric is crumpled into its own container, and the dye is poured over the surface and allowed to sink down through the wrinkles, in an effort to create textures. Cover the fabrics with dye solution. Do not manipulate the fabric for best results.


Group #4
Fabrics: Roc-Lon's Nature's Way, James Thompson Bleached Muslin, James Thompson Unbleached Muslin, and Kona PFD. None of these were prewashed.
Using 1/4 cup soda ash and one gallon of water as a pre-soak, and one teaspoon of Deep Yellow #4 in 8 oz. of water, one teaspoon of Deep Orange #6 in 8 oz. of water, and one teaspoon of Fire Red #10 in 8 oz. of water, I dyed these four fat quarters, using the Direct Application Technique. Fabrics are pre-soaked, wrung out and pleated lengthwise. Then dyes are poured onto the fabric and allowed to flow together to mix colors where they meet. The fabric is left uncovered overnight. Nature's Way muslin showed the most texture and a good deep color but is very stiff and wrinkly, difficult to press, but the most width. JT Bleached Muslin and Unbleached Muslin showed good deep color, good texture and the finest hand. Kona was washed out looking.
Since none of these fabrics are mercerized I expected to find just OK results.
I like the James Thompson muslins the best because of their fine tightly woven hand, and their ability to absorb the dyes well and press out easily. However, they are not easy to find and if the the workshop site didn't have them on hand, I wouldn't know where to advise purchasing them.
I have used Nature's Way in the past and find it acceptable if it is dried after washing to just damp and pressed out from that point.
The Kona, while a favorite of many is such a loose weave that it doesn't take the dyes in the same way as a more densely woven cotton. And being a fuser, I prefer a more dense, less fraying fabric.
This is a no comment site. If you have questions or comments Email me.


A really good red, from Fire Red #10 with some Deep Orange #6 tossed in for warmth. Dyed on Nature's Way muslin. The yellow-orange ( Cheetos Orange) is Deep Yellow #4, also dyed on Nature's Way muslin. Both results are matte and look kinda suede-y. Half yards.


These dirty greens were dyed on my new fave fabric, Economy Muslin, not a very glamorous name for this lovely fabric. It is bleached, and mercerized which is really important because it dyes so much better, crisper and deeper. I dyed these pieces using the scrunchy method and I am thrilled at the textured results.


